
Emergency Management
Emergency Management
Preparation is the basis for every ski tour. But no matter how informed you are, avalanches are unpredictable and can happen at any time. It is therefore particularly important to be familiar with the various procedures in the event of an avalanche.
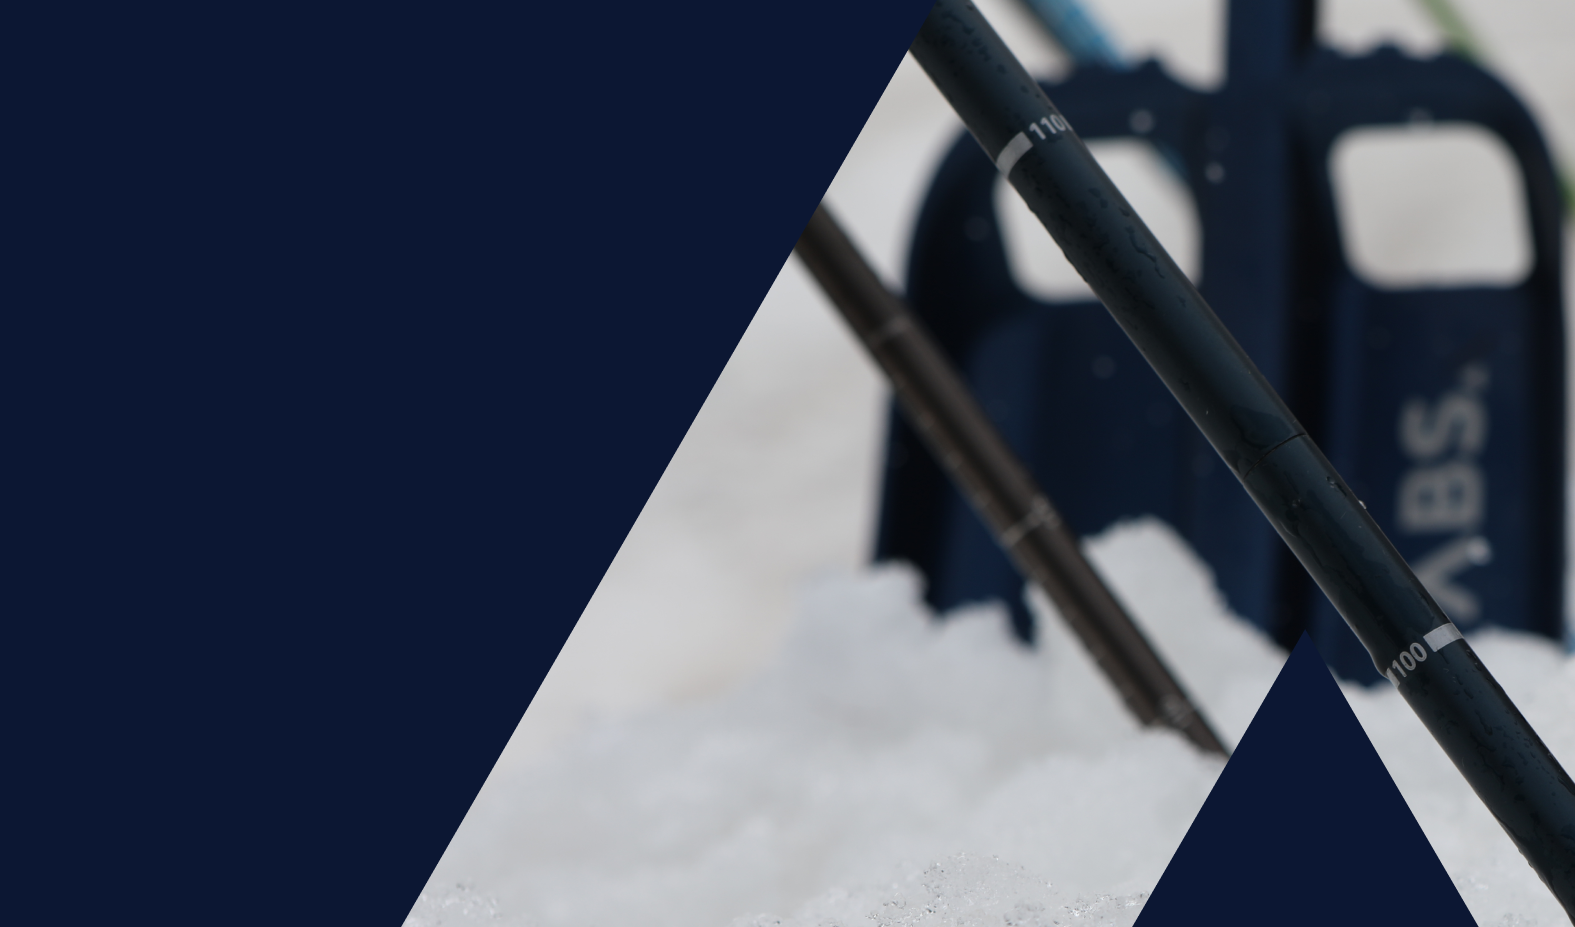
An avalanche transceiver check should be carried out at the beginning of every ski tour, because with the help of an avalanche transceiver, buried people can be located and subsequently found more easily. A distinction is made between the simple LVS check and the double check.
All LVS devices are set to transmit and the battery capacity is checked (min. 40 percent). The group leader has his device in group mode or search mode. He checks with the group members, who are standing about one meter apart, whether the devices are transmitting correctly. Of course, this system can also be used the other way around. The advantage of group mode is the checking of other parameters in addition to the transmission power. Group mode only works in close range. As soon as the check has been carried out, all avalanche transceivers are switched back to the transmit function.
During this check, both reception and transmission checks are carried out on each individual LVS device. Double checking is particularly recommended for new groups. First, the reception check takes place, with the leader setting his device to transmit and all other members being in search mode. The distance to the conductor is about three meters and the distance and the directional arrow are checked. The devices are then switched to transmit and the manager carries out the transmission check as in a simple LVS check. Before the tour begins, all devices must be in broadcast mode again.
Rescuing comrades is the most important rescue measure on ski tours far away from slopes or other infrastructure. In emergency situations, it is important to know procedures and what to do. It therefore makes sense to practice the process of an avalanche transceiver search a few times every winter. Here are the facts that matter.

So what do you do if an avalanche occurs and a group member is buried? First, make the emergency equipment clear and switch all avalanche transceivers in the area from SEND to RECEIVE. Then you should get an overview of the situation. How many people are buried? What are the dimensions of the snowboard? The capture point and disappearance point of the buried victim are marked (if known). There are different approaches depending on the number of rescuers and the size of the avalanche. If you don't have a signal, you move straight down the avalanche cone - this part of the search is called signal search. The search speed is fast in this section (fast walking step, slow running step).
From the moment of initial reception, the rescuer who receives reception first takes over the further search - this part is called the rough search. Here too you should move quickly. With a modern 3-antenna transceiver, this part of the search is relatively easy. The avalanche transceiver is NOT swiveled back and forth, but rather carried in a fixed position in front of the stomach. The fine search begins at a range of around three meters. You now move much more slowly and go down onto the snow cover with the avalanche transceiver. Here, too, the search device is NOT swiveled. At some point you get to the point where the distance information increases again and the sound indicates that you are moving away from the transmitter. The point at which the lowest distance was given is marked.
Here you move the search device into a parallel shift (fixed position) to the right and left to see whether you get an even smaller distance display. This process is called “crossing in”. It depends on what distance the device shows. If it is in the close range (less than 1m), you have to be less precise than if the device shows two meters as the smallest distance. You start probing at the point with the lowest distance information. Be sure to probe systematically. The “square” spiral with an embroidery spacing of approx. 30 centimeters has proven to be the best. Once you have located the buried person with the probe, it gets stuck and you start shoveling from the valley side quickly but in an organized manner.
In an emergency, every minute counts. Just like when searching for buried victims, all steps should be taken when providing first aid. To refresh your knowledge, we have summarized the processes for you together with the Tyrol Mountain Rescue Service.
An avalanche accident is a race against time. The first 15 minutes after an avalanche burial have the greatest chance of rescuing the buried person alive. If the burial time is in the range of 15 to 35 minutes, mortality increases to 60 percent. During this time interval, most buried victims die of suffocation due to blocked airways.
After rescuing comrades, first aid follows on site. The top priority is to clear the victim's airways as quickly as possible. The emergency algorithm is then applied according to the ABCDE scheme, distinguishing between three scenarios.
STORAGE & HEAT
If the person is responsive and responds to wake-up signals (e.g. pinching), then they are conscious. This means that points ABC have already been completed automatically.
A for Airway
B for Breathing
C for Circulation
The buried person is then dug out further and attention is paid to point D.
D for Disability (Neurological Status)
This involves checking whether there are any injuries – can fingers and toes be moved? Is there sensitivity in the arms and legs? Are the pupils working?
Possible signs of problems include tingling or movement problems in the arms or legs, dizziness, nausea and vomiting. If these signs occur, particular care must be taken in handling the injured person and care should be taken to ensure that they are positioned carefully.
E for Exposure
Finally, at point E, you check whether any further injuries are visible and, if necessary, treat them.
As soon as the check has been completed, care is taken to ensure that the injured person does not cool down any further until the organized rescue services arrive. The aluminum rescue blanket is used for this, which is wrapped as centrally and close to the body as possible over the head, back and stomach. The patient should be protected as much as possible from wind and moisture and placed gently on an insulated surface, such as a backpack.
STABLE SIDE POSITION
If the person is unresponsive, the airways (A – Airways) must be checked. Was there a breathing cavity? Is there no snow in the respiratory tract? If there is snow in the respiratory tract, it must be removed. To do this, turn your head to the side, open your mouth and carefully remove the snow with your hands.
Only then is the head stretched out and the injured person's mouth checked to see whether breathing is present (B – breathing). In addition, the hand is placed on the chest to observe whether the chest rises and falls. If breathing is normal, the person can be further excavated. She is then protected from cooling down and placed in a stable side position. In this case, the injured person must be observed at all times in order to be resuscitated immediately if breathing stops.
CARDIOVASCULAR RESUSICATION
In the wake of the COVID-19 pandemic, ventilation during resuscitation is not recommended due to the possible risk of infection. If you decide individually to provide ventilation during resuscitation, the following applies: If no breathing can be detected, you begin - before the person is further shoveled out - with the 5 initial breaths. To do this, the head remains hyperextended and, using mouth-to-mouth resuscitation, enough air is blown into the lungs at your own breathing rate so that the chest rises and falls significantly.
The injured person is shoveled out as quickly as possible and as soon as the body is placed on hard ground, cardiopulmonary resuscitation - also called CPR (cardiopulmonary resuscitation) - begins at a rate of 30 chest compressions to 2 breaths. The pressure point is in the middle of the chest and the pressure depth is approx. 5 cm. This process is more efficient if the injured person is removed from thick and soft layers of clothing. With a frequency of 100 compressions per minute, complete relief must be ensured during breaks. Since resuscitation is very strenuous, it is ideal to take turns. Cardiopulmonary resuscitation is carried out until:
1 // the buried person breathes normally again
2 // the organized rescue services arrive
3 // the first responders are at the end of their strength
We would like to thank our partners for their helpful support in researching and preparing the avalanche knowledge.